🖼️Standard Market
Publish a computer-generated image on starbeam.one's Standard Market
Standard Market
The Standard Market is where lower-priced computer-generated images are published.
The products sold on Standard Market do not support covers and backgrounds as described in the Anatomy of a Product. For these features, use either Featured or Traditional markets.
Quick Start: So You Want to Be an Artist?
So you want to be an artist? This is how you do so on starbeam.one:
Promote Your Profile
The first step is to get your user profile promoted!
Create a New Issuance
starbeam.one follows a publishing model. This means you issue one or more licenses for sale in our markets, and this "set" of licenses is called an issuance. Find out more in our Micropublishing page.
For our Standard Market, you start out with 5 Flares of inventory capacity to issue products in any form of price * quantity you prefer. As you prove you can sell these licenses, your capacity increases. Find out more on our capacity page.
The default price for a new Standard Market issuance is 1 Flare, and starting capacity is 5.
Limits
Each market has limits and here are the Standard Market's:
Minimum Price: .5 Flares
Maximum Price: 2 Flares
Maximum File Size: 25MB
Definitions
To create an issuance we must first create + complete the definition is that used to define it. The definition can be seen as the printing plates of your personal printing press. It can also be seen as the "draft" of your published work. You create your printing plates (definition) and they are then loaded into your printing press to create your content along with their associated digital licenses.
Steps to Create a New Definition
Press on the briefcase in your HUD (heads-up display) because you mean business

Press
Start
Choose
Standard
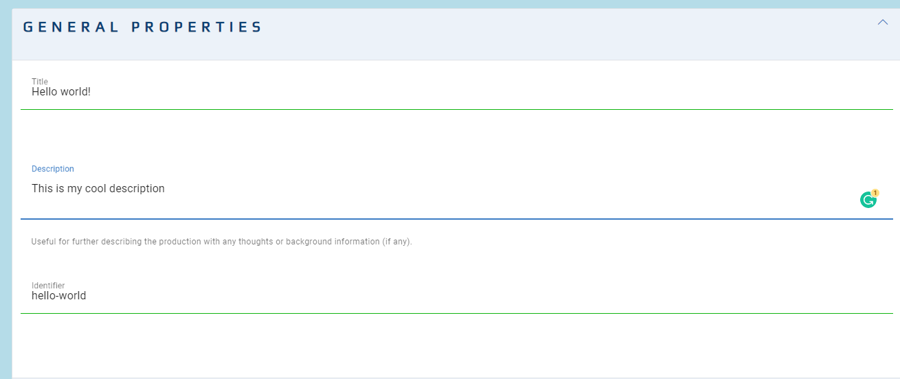
Enter in
Title,Description,Identifier. The title & description have been outlined above. The identifier is for the URL that is used to host this content. For instance, in the above, it can be found athttps://starbeam.one/market/publishers/twitter/mike_e_angelo/stake(Visit) wherestakeis the identifier
Provide your featured Image (i.e. the image you intend to sell)

Optional: The following are optional but add a lot of value to your customer's experience when they view your product after purchase. See this page for how these values are used.
Press
Optional Values:
Enter in Welcome/Introduction text (this is shown above how it is used). This is not required but it adds a nice touch to your collectors when they view it.

Finally, there's the
Previewimage field: The preview image is only used throughout the starbeam.one marketplace to display your product and for your storefront. It is not used for your purchased product. Whenever your product is viewed in a catalog on starbeam.one this image is used. As an example, here is the front page, and in the green rectangle is the preview image for four different products:
 As such, the Preview Image is used to display the product throughout starbeam.one. As a convenience, this image is generated for you when you specify a Featured Image (step 5) by taking that image and applying a watermark to it.
All your properties are now assigned to the definition (your "printing plate") and are ready to be loaded (into your personal "printing press"). Press
Review + Publish...
Now you are in the final step! ALMOST THERE. After some seconds, a
Previewbutton will be displayed to you to allow you to view exactly what a collector sees when they purchase a license and view your product. Press this and review the product to make sure it looks like what you expect it.
Assign
Price&QuantityNote: For your very first issuance, quantity is set to a fixed value of1as you learn the system. After your first issuance you will be able to adjust quantity + price based on your capacity.
Double-check price + quantity to ensure it is as expected. If so, press
Confirm & Publish!
Select
OKon the confirmation
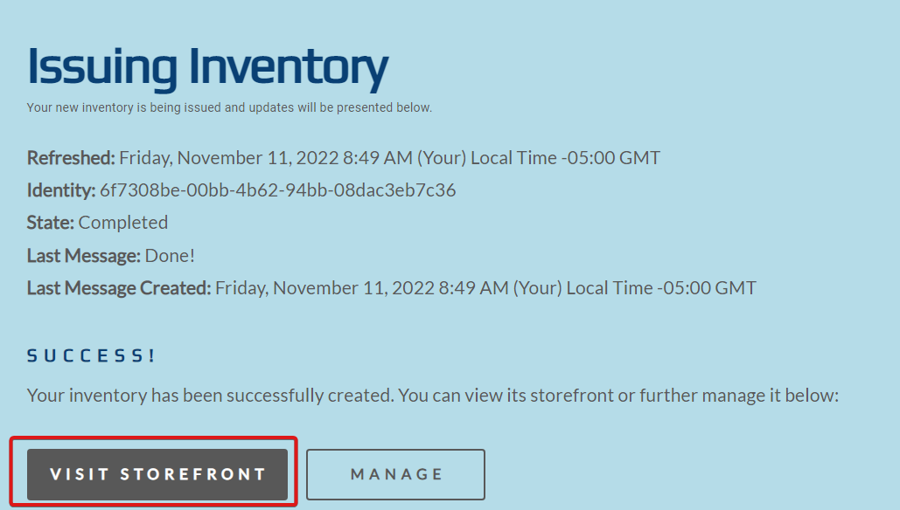
After some time, you will see the results of your issuance. Hopefully, it will be successful! 🤞

Congratulations on your issuance! 🥳🎉✨
Questions?
Any remaining questions? Hop onto our Discord and we'll get them answered for you.
Last updated