Re-issue Inventory
starbeam.one uses a publishing model. Product definitions act as printing plates to your own personal printing press. You are able to issue as many as you can given your capacity, and for as long as you can sell them.
However, there are two primary intended scenarios to actually re-issue a previous work.
You sell out quickly of your work and want to issue more for the day.
You want to revisit a previous work and re-issue it for your audience.
By and large, a re-issuance will occur for the first scenario. That is, usually when a re-issuance occurs on starbeam.one, it is because inventory sold out quickly and an artist wants to re-issue for someone else who wants to purchase a license.
How to Re-issue Inventory
You have taken the time and published your first product and sold out. Now you find yourself asking if you should make more. The good news is that most if not all the work is already done for you. You have already defined the printing plates (product definitions) and have everything configured. Now it's a process of loading those printing plates (product definitions) into your personal printing press and create new issuance.
There are two ways of re-issuing, simple (quick) and advanced. We explore both below:
Re-issue Inventory: Quick (Simple)
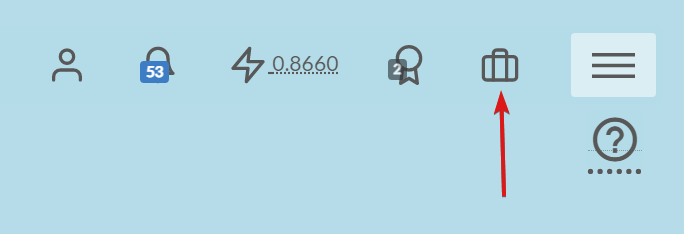
Press on the briefcase in your HUD (heads-up display) because you mean business

Under
Re-issue Product InventoryselectSelect...
Select
Quick Loadon the selection you'd like to load. You may also press the image and or product title.
Now you are in the final step! ALMOST THERE. After some seconds, a
Previewbutton will be displayed to you to allow you to view exactly what a collector sees when they purchase a license and view your product. Click this and review the product to make sure it looks like what you expect it.
Modify Price + Quantity to values you see fit. Keep in mind you will need the capacity to issue future products so leave some leftover if possible (more can be found here). Also, make note of the average price sold over the past 30 days to help gauge what you should price your product at.

Double-check price + quantity to ensure it is as expected. If so, click
Confirm & Publish!
Select
OKon the confirmation
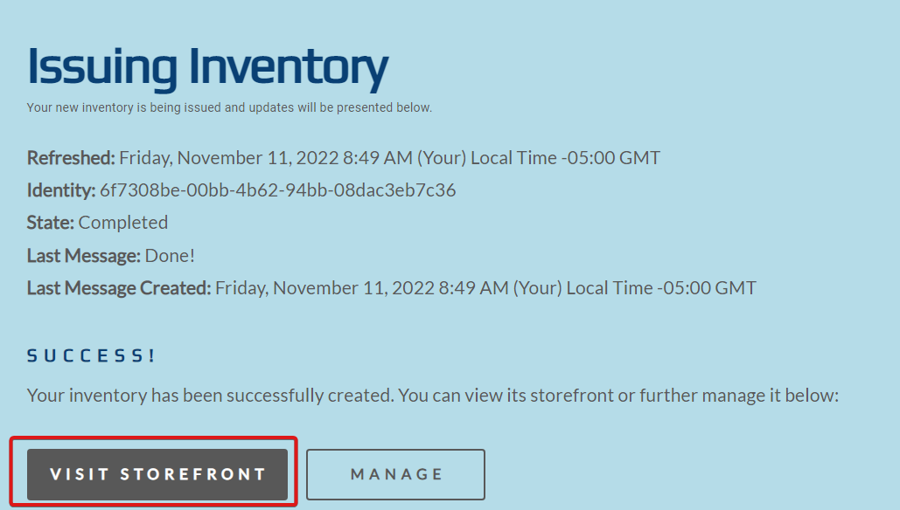
After some time, you will see the results of your issuance. Hopefully, it will be successful!

Congratulations on your re-issuance! 🥳🎉
Re-issue Inventory: Advanced
Press on the briefcase in your HUD (heads-up display) because you mean business

Under
Re-issue Product InventoryselectSelect...
Select
Loadunder the product selection candidate you'd like to load.
You are now in the
Create Inventoryscreen and your printing plate have been loaded into your personal printing press. Review the values to make sure everything looks OK.Modify Price + Quantity to values you see fit. Keep in mind you will need capacity to issue future products so leave some leftover if possible (more can be found here). Also, make note of the average price sold over the past 30 days to help gauge what you should price your product at.

If everything looks OK, scroll to bottom and click
Review.
Now you are in the final step! ALMOST THERE. After some seconds, a
Previewbutton will be displayed to you to allow you to view exactly what a collector sees when they purchase a license and view your product. Click this and review the product to make sure it looks like what you expect it.
Double-check price + quantity to ensure it is as expected. If so, click
Confirm & Publish! (If not, follow the directions here)
Select
OKon the confirmation
After some time, you will see the results of your issuance. Hopefully, it will be successful!

Congratulations on your re-issuance! 🥳🎉
Last updated